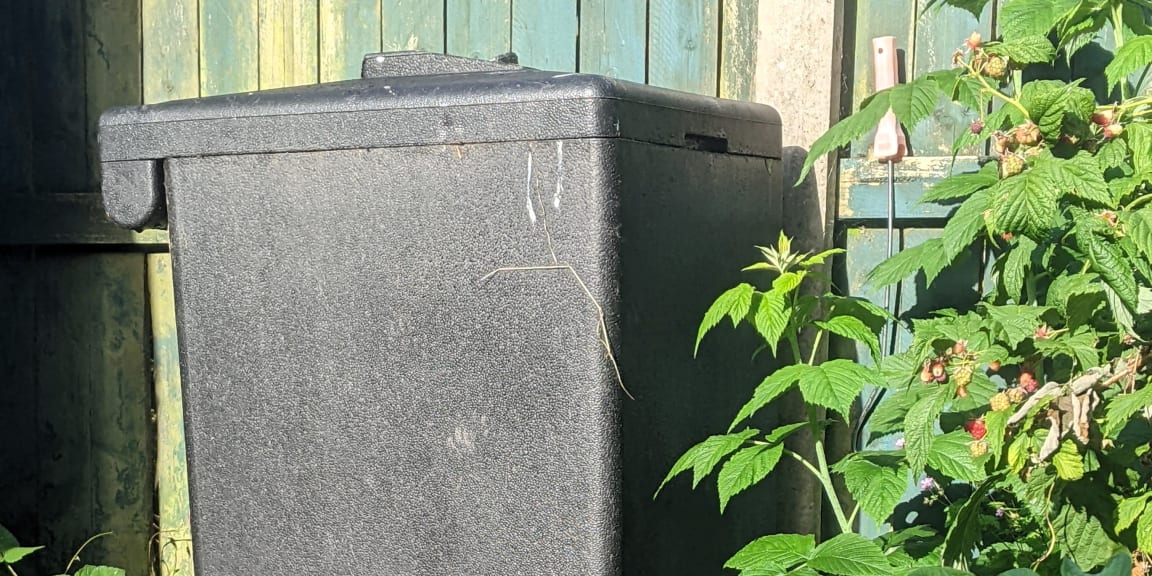
DIY Solar Panel as a Paddling Pool Heater Eco science project to do with kids: a solar-powered paddling pool heater that works in Ireland.
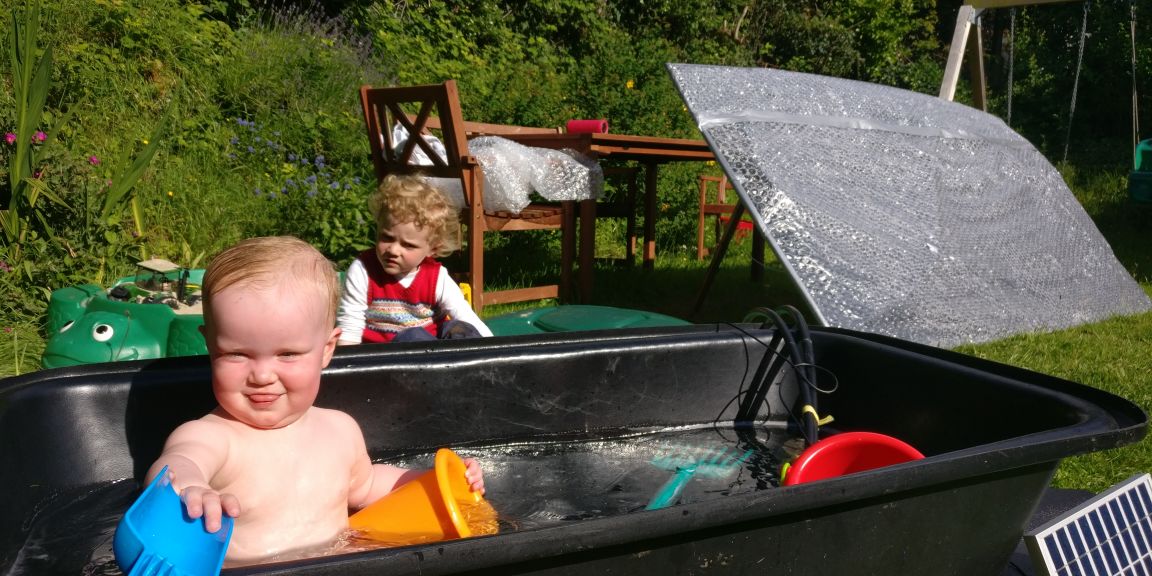
I won't lie. I was talking a big game when I first pitched this idea to my natural sceptical children. On the inside, I wasn't so sure how effective it would be. Surprisingly though, the DIY solar panel works really well even here in Ireland. It's able to heat an outside bath / paddling pool so it's toasty hot, purely powered by the sun. It turns out those years studying engineering weren't wasted after all.
It was a brilliant green science project to do with the kids, and has a surprisingly long lifespan too, leading to countless hot outside baths and paddling pool sessions in the back garden. Three years later, it's still working.
Here's how we did it.
What you'll need
- 8ft x 4ft sheet of plywood
- 50m of black plastic pipe
- Steeples that'll fit over the pipe
- Black paint
- Big role of bubble wrap (1m wide ideally)
- Duct tape
- Solar-powered pond fountain
- 2 bits of wood to prop up the solar panel (approx. 1 m long)
Building your DIY Solar Panel
1. Paint an 8ft by 4ft sheet of plywood black
The first step is to get an 8ft by 4ft sheet of plywood (roughly €25 from B&Q / any builder's merchant), and paint it black.
2. Attach black water pipe in zigzags
Next step is to attach some black plastic pipe. I bought a 50m roll of the cheapest water pipe I could find on Amazon (~€20). I was glad I didn't go any shorter, as we easily used it all up.
We had to be careful not to kink the pipe. We used big turns to be safe, overlapping the pipe to allow such big turns. Steeples hold it in place. If we did it again, I might try and get those pipe-holding strips you use when putting down underfloor heating piping. That could be a good alternative.
Make sure you leave a decent tail length on both ends of the pipe - they both need to go into the paddling pool. You'll need a few meters to get it into the paddling pool.
3. Add legs to prop it up
You will need to prop the solar panel up so it points directly at the sun. For us (based in Cork, Ireland), you want to be able to get the panel to about 45 degrees. We put to 1m legs on one side, attached with hinges so we can adjust the angle. We also put a piece of rope from the panel to the end of the legs so that the kids could not kick the legs out and make the solar panel fall over.
4. Cover the face in bubble wrap
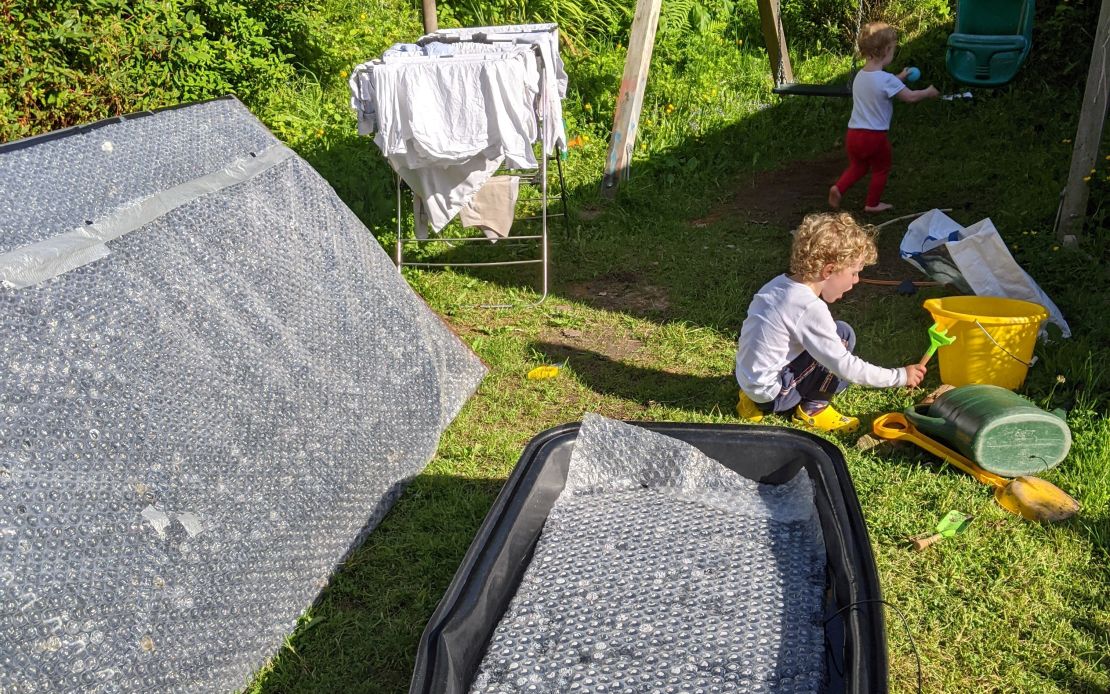
Bubble wrap works really well as the front cover of the panel. It creates a perfect greenhouse effect inside and acts as insulation. You can get big rolls (1m wide) on Amazon for about €20. Cover the front side of the solar panel in bubble wrap. Taping the edges with duct tape helps to get a good air seal to keep the hot air in around the pipes.
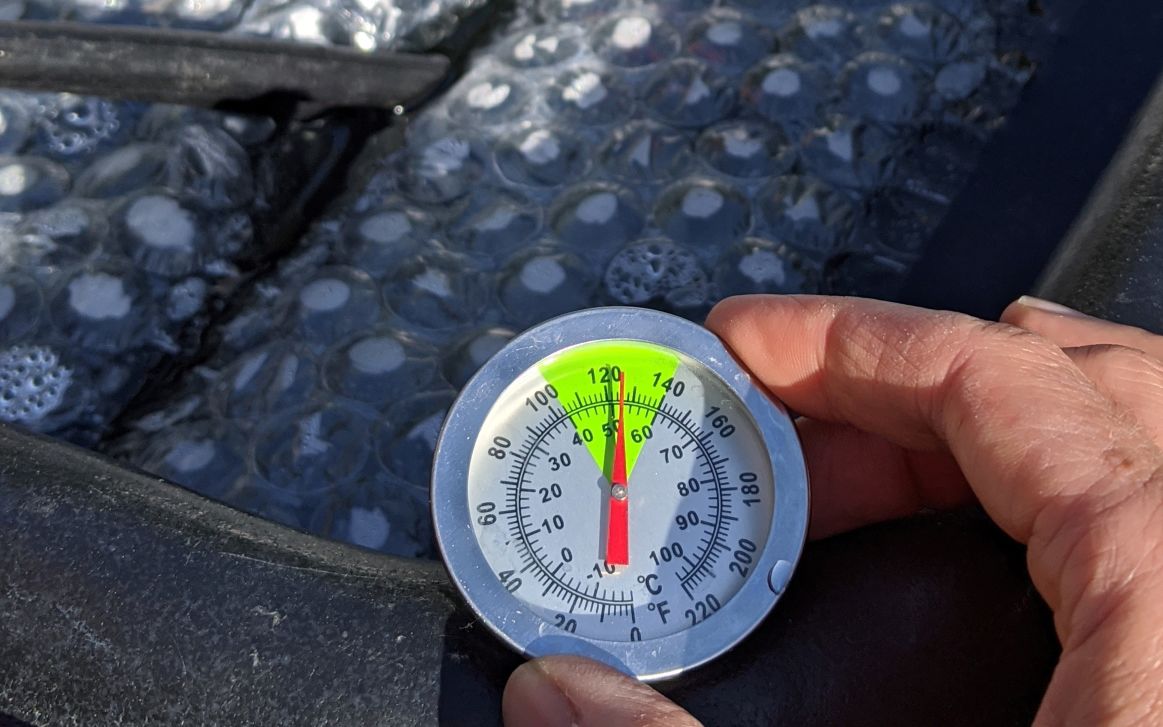
Here you can see the greenhouse effect with the air in the panel at 65°C, though I have seen it as high as 85°C in there.
5. Pimp your paddling pool for bonus heat
To get that extra bit of heat, we also did some work on the paddling pool. If you have a dark-coloured or black paddling pool, that's ideal. We had a plasterer's bath (~€20 from Amazon) left over from another science project with the kids, and it works brilliantly. Essentially, it's a black plastic bath but has no plug in the bottom (which is great as it stops younger kids from emptying the bath in the first three minutes!)
We sat the bath on an old yoga mat to give it insulation from underneath. We also cut a piece of bubble wrap the same size and shape as the bath to make a cover. Covering the paddling pool water whilst it is heating up makes a huge difference. Not only does it act like a small extra solar panel, but it also stops all the evaporation heat losses.
6. Fill the solar panel's piping using a hosepipe
Once you've filled the bath / paddling pool, you'll need to fill your new solar panel piping with water. The pump is not powerful enough to push through airlocks, so you'll need to fill the solar panel's pipe before attaching the pump.
The trick here is to press a hosepipe to one end of the pipe and blast water through until all the air is out. Once all the airlocks are gone, put your thumb on the end of one of the pipes, to stop air from getting back in, then put it straight underwater in the bath.
7. Attach the solar-powered pond fountain
I bought a 5W solar-powered Pond Fountain (~€20 from Amazon) which works brilliantly as the main pump, again powered by the sun. Attach that underwater (to stop air from getting into the system) and it's good to go!
Side note - do you really need a pump? What about Convection?
The short answer is yes, you need a pump. People ask about using convection instead - hot water rises, so couldn't you use that to power the system? You could, but only if the solar panel is placed much lower than the paddling pool. You need a vertical separation for hot water to rise from the panel to the bath above.
My finger-in-the-air engineering skills would guess you'd need a decent height difference, too. Certainly, more than just a few feet, as a 50ft pipe run has a fair bit of friction to overcome. For me, it's all got to work on the same level in the garden, so a pump is definitely required.
Solar Panel Performance
Heating time: ~3 hours
In Ireland, I find it takes roughly 3 hours to take cold tap water to a nice toasty hot bath temperature. I tend to set it up in the morning, head out and do something with the kids for a bit, then by the middle of the day, there's a toasty hot paddling pool awaiting our return to play in.
Temperatures achieved: Toasty Hot
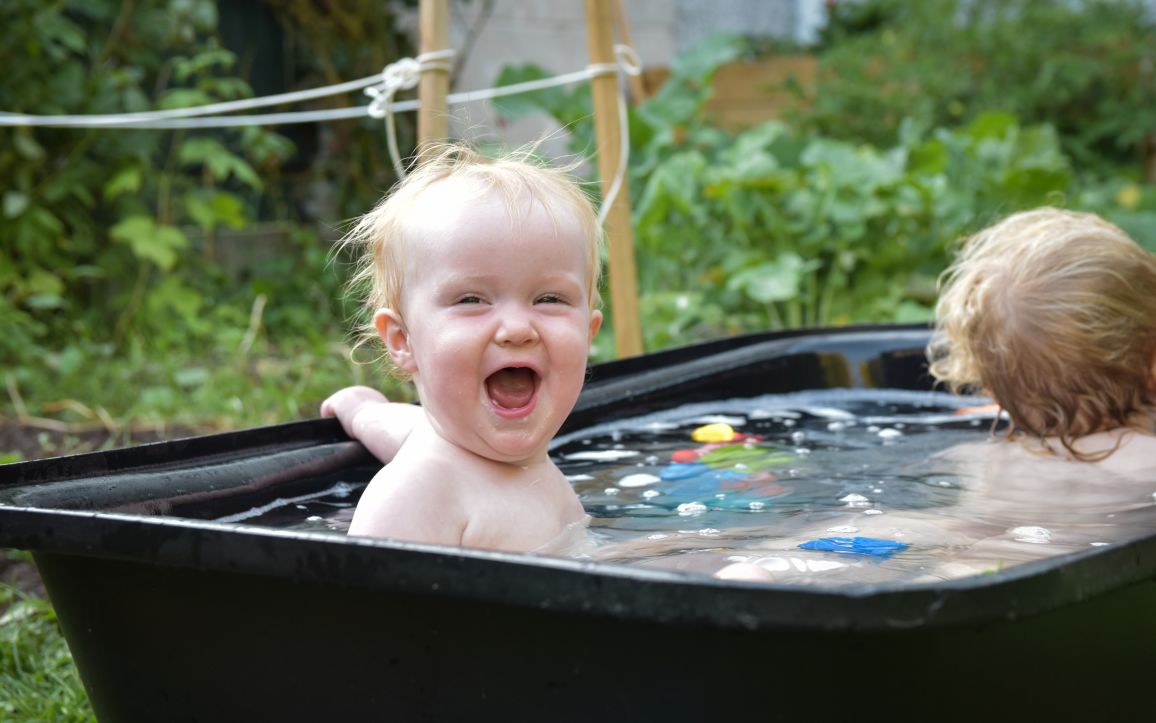
The system works really well and, with enough time, will get your paddling pool toasty warm. You can get the paddling pool up to tasty hot-tub temperatures with no problem, which is 36°C - 40°C.
Commercial hot tubs cut out at 40°C. That is the limit, so you don't cook the bathers. Do be careful to check the temperature before anyone goes in - I keep a thermometer handy for that.
Maintaining Temperature: Slows the cooling only
Once the kids are in the bath and splashing around, the panel is not powerful enough to hold the water up in the high 30s Celsius. The bubble wrap cover on the bath / paddling pool makes a huge difference by stopping evaporation heat losses, and without that, the water starts cooling faster than the panel can heat it back up again.
Keeping the solar panel running, however noticeably, reduces the rate at which the bath cools down though, so it is still well worth leaving running once the kids dive in.
Weather conditions: Any sunny day from April - Sept.
Clear blue sky days are ideal. Even broken clouds can dent the performance quite a bit. The air temperature does not have to be that warm, though. In my experience, the system will work well from early April through to the end of September as long as you pick a nice sunny day, even when the air is a bit on the cool side.
Test results - The Science Bit
Half the aim of this was to get the kids into eco-related science projects, so in true school science project style, we ran some tests and recorded the results.
Bath Temperature Record: 52°C
We had the bath temperature up to 52°C once, where we set it up in the morning and left it running for quite a lot of the day. Do note though that temperatures above 40° are not safe for people to go into. It needed some cooling down before using it!
Bucket Temperature Record: 67°C
To see the maximum temperature of the panel, we tried using a single bucket with water and then leaving the panel to heat that bucket. In our case, the bucket reached a sizzling 67°C. You could cook an egg in that (if you have a lot of patience, that is).
Heat per water cycle through the DIY solar panel: 5°C
In our tests, the water coming out of the solar panel was about 5°C hotter than the water going in.
No bubble wrap = poor performance
A question was raised - does the greenhouse effect that the bubble wrap offers help more than the fact it also reduces the amount of sunlight getting through?
The answer: bubble wrap gives a huge net improvement in performance. We tested without the bubble wrap and the performance was at least 50% down.
I've seen other people online just using a coil of black pipe. Perhaps that works for a DIY solar panel in warmer, more southerly countries, but here in Ireland, the sun is not strong enough for that in my tests. And I suspect the colder air keeps the pipe temperature down too. The greenhouse effect inside the solar panel is really quite something - it can be 70 - 80°C in there, and that far outweighs any reduction in solar intensity hitting the solar panel pipes inside the DIY solar panel.
Costs
I spent around €85 on this, though admittedly I used a few little bits we already had in the shed too. Things we bought:
- Plasterer's Bath (to be the bath tub / paddling pool): ~€20
- 5w Solar-powered pond fountain: ~€25
- 8 x 4 ft plywood sheet: ~€20
- Giant roll of bubblewrap (enough for about 4 solar panels): ~€20
Lifespan
I've got 3 years out of my DIY solar panel for the paddling pool so far. It is looking on its last legs, though. It lives outside year-round, so the Irish winters have done it no favours. I cannot complain about the other three seasons though :)
It's been great how much use it's got. Originally, it was just a fine eco / science project to do with the kids. Though once they got used to a toasty hot outside bath they've plain refused to go back to hosepipe temperature paddling pools! It gets pretty regular usage, and for us parents, it just increases the amount of time a paddling pool session gets.
Safety bits
For the record, I'm not an expert in any of this - I'm just sharing the story of a fun environmental science project I loved doing with my own kids. Here are some of the safety bits that went through my head, though I'm sure there are more. You'll need to use your own judgement if trying something similar.
Yes, the water can get too hot to go in.
Commercial hot tubs cut out at 40°C, as it's dangerous for kids and adults to be in water that hot. You'll need a thermometer to be safe.
Unsupervised paddling pools
You will need to leave the paddling pool for a few hours to heat up. Unsupervised water is always dangerous for children.
Never let kids near with a cover on
Whatever the design (bubblewrap or anything else), covers make unsupervised water even more dangerous. Never let kids near covered water.
Bugs growing in the water
I dread to think what life-forms are growing in the water by the end of the day - nice warm water, with extra contributions of ice-cream drippings, grass, mud, worms, wax crayons, bits of toast... Myself, I only use the water once, and give the panel itself a really good blast through with a hosepipe each time to make sure there's nothing left in there. I've had no problems, but still, bugs growing in there would be my biggest concern.
Conclusion
A great fun eco / science project with my children
It really was a great fun build with the kids, which is the main reason I'd recommend this project. Painting, playing with hosepipes, bubble wrap and tape — lots that younger helpers can do and all great fun.
Getting children thinking about environmental concepts
Anything like this, where kids get to be hands-on and build carbon-saving machines themselves, I've found great for getting the kids to think more about being environmentally conscious.
Warm paddling pool = happy kids (and happy parents, too!)
We are on year three now, and it's still going. A warm paddling is so many more hours of entertainment on a summer's day for the kids, with a clean conscience for me as there's no boiling the kettle to heat it up.
Lots of use
Be warned - once kids get used to a toasty warm outside bath there's no going back - I'm already getting demands for version 2 to be built now version 1 is starting to look its age :)
Bonus - an alternative design?
If I built a new one, I would change very little. The whole DIY solar panel system worked surprisingly well as a bath heater considering I live in such a northerly country as Ireland. My inner engineer though, has another design I'd like to trial. Not sure if it would be better or worse, but only one way to find out...
An alternative solar panel design - box section plastic
Temporary signs are often made of box section plastic (think election posters on lamp posts). I've had a design in my head using three layers of that. A black layer in the middle with the water going through it, sandwiched by two transparent layers (to be the insulation)
The pros
That plastic is super-thin walled, and the water would cover the whole surface of the DIY solar panel, so that should lead to better heat absorption.
The cons
One challenge is getting the water supply into the plastic box section. At a guess, I'd need to put a slice in the edge of a water pipe, then glue it over the end of the box section plastic. I can see lots of leaks being the issue.
Blockages could be another issue with the small channels in the box section plastic. With the children playing with it, all sorts of things end up going into the solar panel pipe, from bits of an ice-cream cone to grass to wax crayons!
Could be better, could be worse?
The only reason I'd try this alternative idea is just for the fun of seeing if it would work and if it might be better / worse. If I just wanted a system that works, I'd keep the current design, it's really effective.
