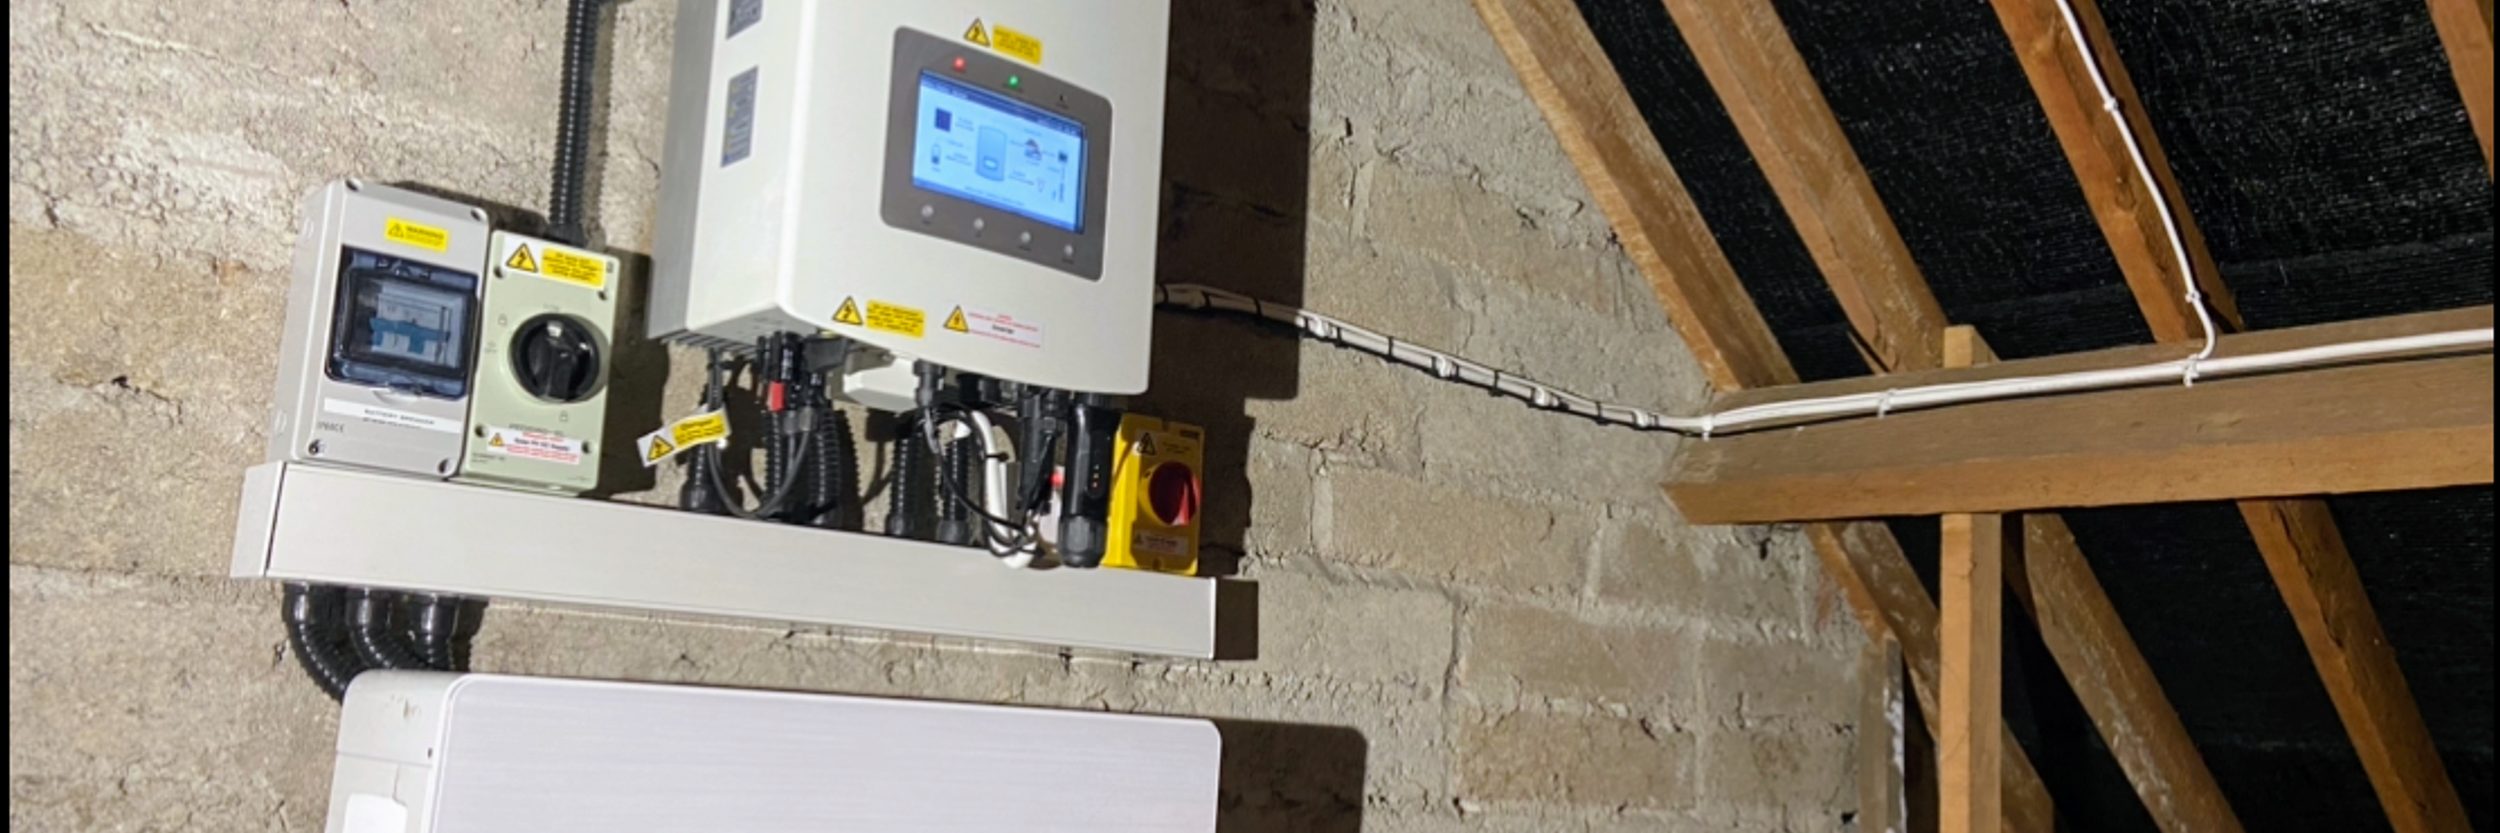
Solis battery wake-up procedure
How do I wake up a deeply discharged Solis battery?
This page is for when your battery has been drained right down and has shut itself off to protect its own cells. A full wake-up takes two phases: a hardware reset on the battery, then the Solis inverter's built-in Battery Wakeup menu. Both are needed for a successful recovery, and this page walks you through each one in order.
You will likely see one of these symptoms on your inverter screen:
The inverter cannot detect your battery at all. This is the most common fault code after a complete discharge.
CAN is the communication link between the inverter and the battery — the small data cable that carries messages between the two. It has dropped because the battery has switched itself into protection mode. Every battery has its own small controller, called a Battery Management System (BMS), and that is the part that has shut it down.
Before you start
Do not attempt to open the battery enclosure or connect any external chargers yourself. Battery recovery involves working with live DC voltages and should only be carried out by a qualified engineer with the right equipment and safety gear. This guide is intended for PureVolt engineers or for customers who have been specifically instructed by PureVolt to follow these steps.
Check the battery lights first. Press the power button on your battery. If you see no indicator lights at all, the battery's internal voltage may be too low for its controller (the BMS) to start up, even after a hardware reset. In that case the battery needs an engineer to charge it directly, and the inverter's wakeup menu will not be enough. Contact us and we will arrange a site visit.
If you see any lights when you press the power button (even just a brief flash), you can proceed with this guide. The procedure works for Solis Series 5 and Series 6 EH1P5K hybrid inverters, paired with common battery brands including Dyness and Pylontech. Button names may vary slightly between models.
Phase 1: Battery hardware reset
This phase clears the BMS protection mode that was triggered by deep discharge. Work through each step in order:
- Isolate the battery from the inverter
Turn off the DC breaker or isolator located between the inverter and the battery. It is the large switch on the wall between the two units. This safely separates them before you begin.
- Power down the batteries
Turn off the physical power switch on each battery unit. If you have multiple batteries in a stack, power them all down.
- Reset the communications cable (recommended)
Unplug the cable that carries the messages between the master battery and the inverter, wait 10 seconds, then reconnect it firmly until it clicks into place. The cable may be labelled CAN or RS485. A loose or partly seated cable is a common cause of ongoing communication faults.
- Power the batteries back on
Turn the physical power switch on all batteries back to the ON position.
- Trigger the master battery
Locate the master battery (the unit connected directly to the inverter, usually the top unit in a stack). Press and hold the red SW or Reset button for about 3–15 seconds, until the lights come on one after another.
- Reconnect the DC breaker
Turn the DC breaker or isolator between the battery and the inverter back ON.
Phase 2: Solis inverter battery wakeup menu
With the battery hardware reset complete, you now use the Solis inverter's built-in Battery Wakeup function. This forces a slow, gentle charge from the grid into the battery, bringing its voltage back up to a level where it can look after itself again.
- Press Enter on the inverter to open the main menu.
- Scroll to Advanced Settings and press Enter.
- Enter the password when prompted: Press Down, Down, Up, Down, Enter. This inputs the code
0010. Each Down sets that digit to 0; Up sets it to 1.See our Solis battery timing guide for the full Advanced Settings navigation reference, including button layouts and screenshots.
- Scroll to Storage Energy Set and press Enter.
- Scroll to Control Parameter and press Enter.
- Scroll to Battery Under Voltage. This will likely show 42V.
- Press Enter, change the value down to 40.0V, then press Enter to confirm, then press Escape.Why lower the voltage?
A battery that has been drained right down may sit below the level the inverter normally expects (42V). Lowering that level to 40V temporarily lets the wake-up charge flow into the battery. This is a temporary setting and it does not affect your normal battery protection.
- Scroll to Save and Send and press Enter.
- Scroll to Battery Wake Up and press Enter. The screen should briefly display “Done”.
- Press ESC repeatedly to return to the home screen.
The inverter may take a few attempts to establish communication and begin charging. If “Done” appears but no charge flow shows on the home screen within a minute or two, repeat Phase 2 from the start. It is not unusual for the wake-up to need several attempts before the battery responds.
What to expect
Once the wake-up procedure is complete, here is what you should see:
The diagram on the home screen should show power flowing from the grid to the battery. This confirms the slow charge has begun.
The inverter will charge slowly from the grid until the battery reaches roughly 10 to 20%. At that point the battery can keep itself running, and normal solar charging resumes automatically.
Beeping during the wake-up process is normal and should stop once the battery reaches a safe level. There is nothing wrong.
Don't give up after one or two attempts. The wake-up often needs to be repeated several times before the battery responds, and on some systems it has taken many repeats to get it working. If the battery still does not respond after several attempts, an engineer may need to charge it directly using special equipment. Contact us and we will arrange a visit.
Need a hand?
If you are unsure at any step or the wake-up does not work after several attempts, get in touch with your installation team at PureVolt.ie and we will help you through it or arrange a site visit. We would much rather you check with us than try anything that could damage your equipment.
You might also find these guides useful:
- Battery dead after a power cut, what to do if your battery won't turn on.
- Solis fault codes explained, what each code means and what to check.
- Solis battery communication fault (code 2012), battery communication troubleshooting.