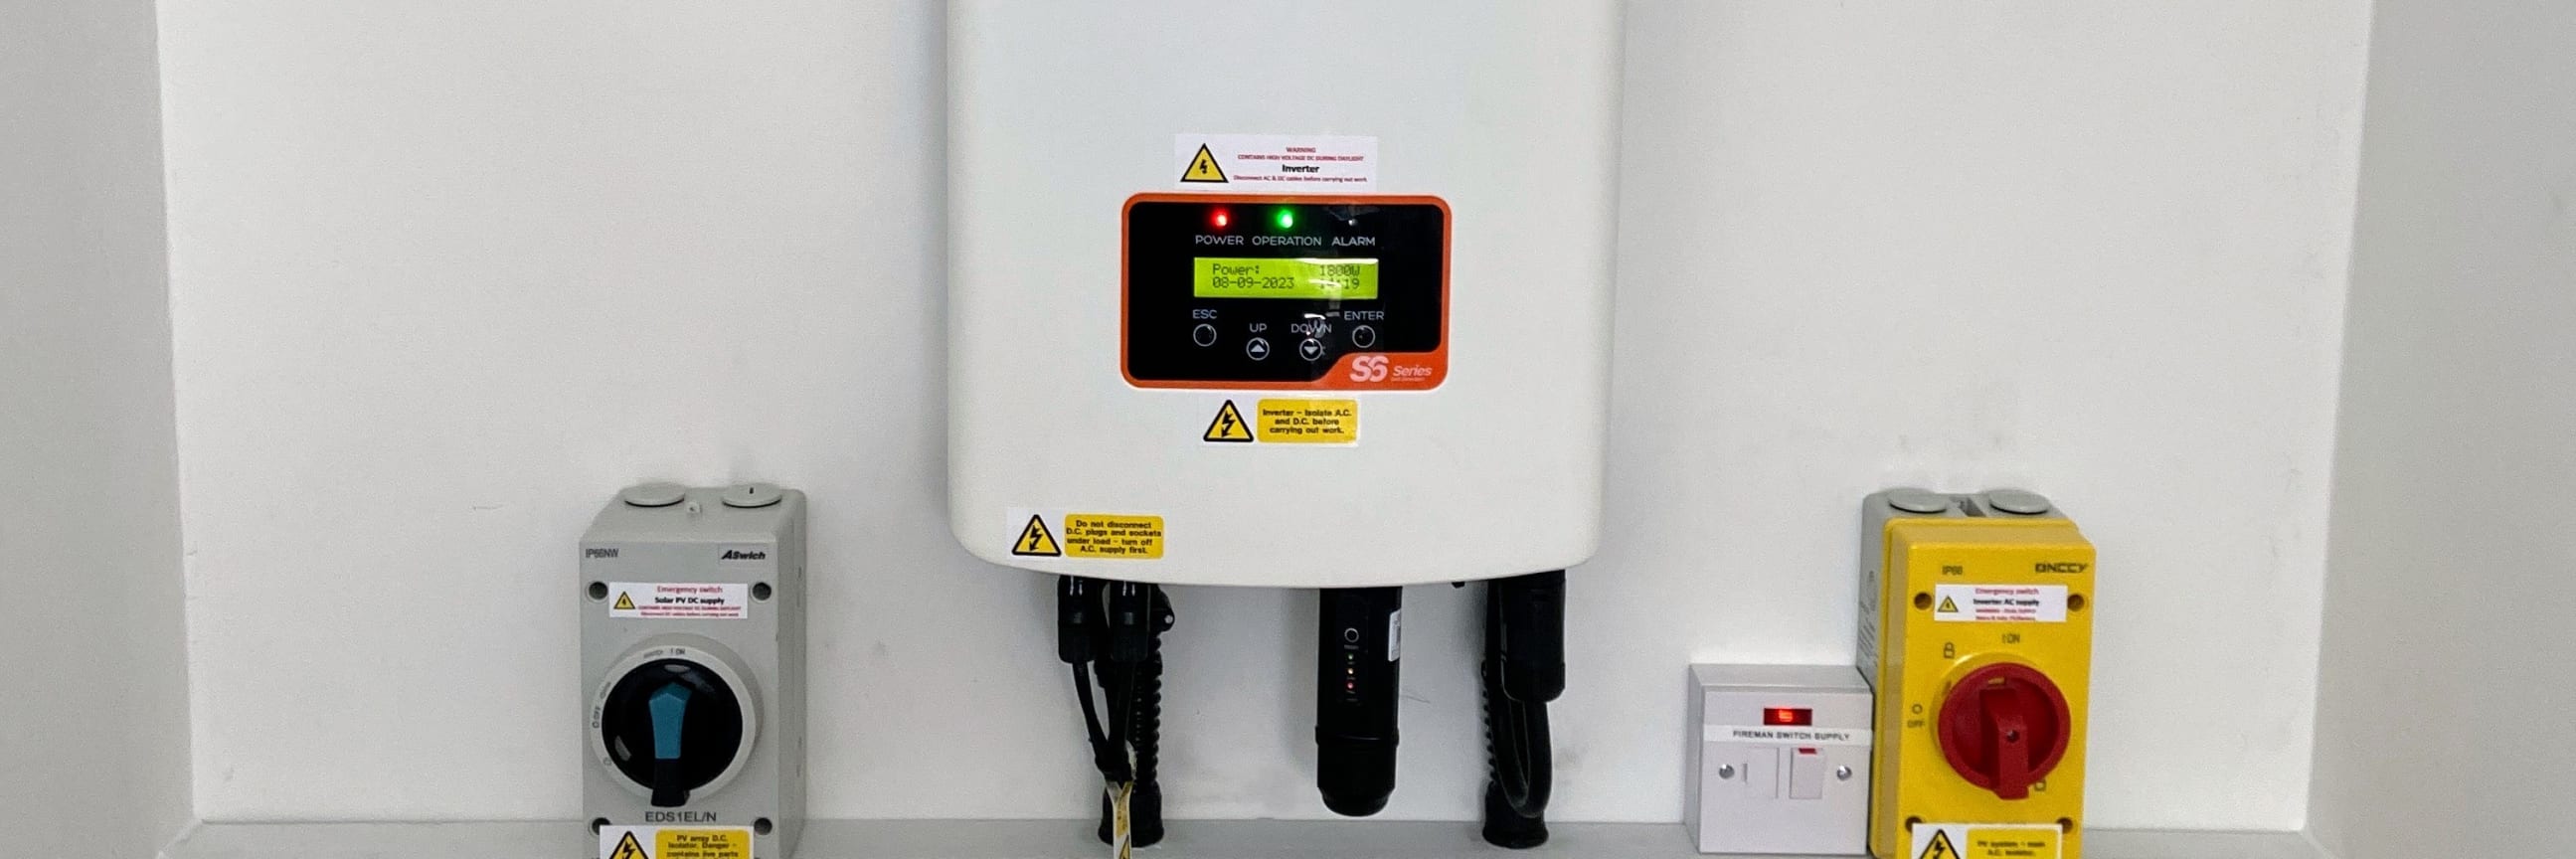
Solis fault code 2012: battery communication fail
What does Solis fault code 2012 mean?
Fault code 2012 (Batt_Comms_Fail) means your Solis inverter has lost its connection to the battery. Put simply, the inverter and battery are no longer “talking” to each other.
Common causes include:
A loose or disconnected CAN communication cable (the cable that carries the messages between the inverter and the battery) can break that link.
For example, a high-demand appliance like a heat pump or immersion heater momentarily exceeded the battery's safe output limit, which made the battery's own built-in controller, called the Battery Management System (BMS), shut it down to protect itself.
The battery may have shut itself down because it got too hot, because too much current was being drawn from it, or because it hit another of its own safety limits.
Work through the steps below in order. If the fault clears at any step, stop; there is no need to continue.
Step 1: Check the battery status
Go to your battery and check the following:
- Is it on? Look for any indicator lights lit on the front panel.
- Check the power switch: ensure it is in the ON position. See battery-specific controls below for the correct control for your battery model.
- Wake it up: if there are no lights at all, attempt to wake the battery using the start/power button. See battery-specific controls below.
If there are no lights and the battery will not wake up, its built-in controller (the BMS) may have shut it down because the battery was drained right down, rather than because of a communication fault. See our guide on what to do when a battery appears dead after a power cut before continuing.
Step 2: Check the communication cable
The CAN communication cable connects your battery to the inverter. It is the cable that carries the messages between the two, and it looks like a standard internet cable, the type with the small plastic clip on the end.
- Locate the cable: trace it from the CAN port on the battery to the Battery Link port on the Solis inverter. A port is simply the socket the cable plugs into.
- Unplug the cable from both ends.
- Wait 10 seconds.
- Reconnect both ends firmly; you should feel a distinct click at each end.
- Wait 2–3 minutes to see if the fault clears.
Step 3: Full system restart
If the battery is on and the cable is seated correctly but the fault persists, perform a full system restart. Follow this exact order:
Shutdown
- Turn off the AC: switch off the Solar AC Isolator, or the dedicated breaker at the consumer unit (the fuse board in your home). This is the switch that cuts off the mains electricity side of your system.
- Turn off the Solar (DC): switch the DC Isolator to OFF. This is the isolator on the panel side of your system, and it is usually mounted near the inverter.
- Turn off the battery: see battery-specific controls below for the correct procedure for your model.
- Wait 60 seconds: wait for the inverter screen to go completely blank.
Startup (reverse order)
- Turn on the battery: see battery-specific controls below. Wait for the indicator lights to settle before continuing.
- Turn on the DC Isolator (Solar).
- Turn on the AC Isolator.
- Wait 2–5 minutes for the inverter to start up and reconnect with the battery.
Always shut down the inverter (AC isolator off) before turning off the battery, and always start the battery before turning the inverter back on. If you reverse this order, the solar panels are still connected and still feeding the system, so the battery is under load when you switch it off. Switching a battery off while power is still flowing through it causes arcing inside the unit, and that damages its internal switches a little more each time. If you've accidentally reversed the order and need help, contact us.
Step 4: Check the DC breaker
Verify that the large DC breaker, the main switch located between the battery and inverter, is firmly in the ON position. If it feels loose or will not stay ON, that points to a hardware fault. Do not force it. Contact us to arrange a site visit.
Battery-specific controls
Different battery models have different power controls. Find your battery below for the correct procedure. Not sure which battery you have? Contact us and we'll help you identify it.
FoxESS — LV52
| Action | Control |
|---|---|
| Check status | indicator lights on the front panel; Power Switch (C) should be in the ON position |
| Wake up | No separate start button. If there are no lights, switch Power Switch (C) OFF then ON |
| Turn off | Turn Power Switch (C) to OFF |
| Turn on | Turn Power Switch (C) to ON |
FoxESS — LV5200
The LV5200 has two separate controls. The order you use them in matters.
| Action | Control |
|---|---|
| Check status | indicator lights on the front panel; Power Switch (I) should be ON |
| Wake up | Ensure Power Switch (I) is ON, then press and hold Start Button (H) for 3–5 seconds until the lights come on |
| Turn off | Hold Start Button (H) until the unit powers down, then turn Power Switch (I) to OFF |
| Turn on | Turn Power Switch (I) to ON first, then press Start Button (H) to activate the BMS |
Do not press Start Button (H) before Power Switch (I) is ON; the BMS will not activate.
WECO — 5K3 Dual / 5K3XP
These are the same unit. Both names refer to the same hardware.
| Action | Control |
|---|---|
| Check status | indicator lights or display on the front panel; power switch on the side should be ON |
| Wake up | If there are no lights, switch the side power switch OFF then ON |
| Turn off | Flip the power switch on the side of the unit to OFF |
| Turn on | Flip the power switch on the side of the unit to ON |
WECO — 5K3-EVO
The 5K3-EVO does not have a rocker switch on the side, it uses a front panel press-and-hold button. Not sure which model you have? Contact us and we'll help you identify it.
| Action | Control |
|---|---|
| Check status | indicator lights on the front panel |
| Wake up | Press and hold the power button on the front panel for 3–5 seconds until the indicator lights come on |
| Turn off | Press and hold the power button on the front panel until the unit shuts down |
| Turn on | Press and hold the power button on the front panel until the unit starts up |
Need a hand?
If fault code 2012 comes back after you have worked through the steps above, get in touch with your installation team at PureVolt.ie. Whether you call or email, it helps to have the fault code, your inverter and battery model, and what you have already tried to hand.
You might also find these guides useful:
- All Solis fault codes explained, full reference table including codes 1055, 2015, and 2016.
- Battery appears dead after a power cut, if the battery is deeply discharged and won't communicate at all.
- Solis battery wake-up procedure, how to recover a battery that has gone completely flat.
- Solis remote access setup, how to give us remote access to your inverter.